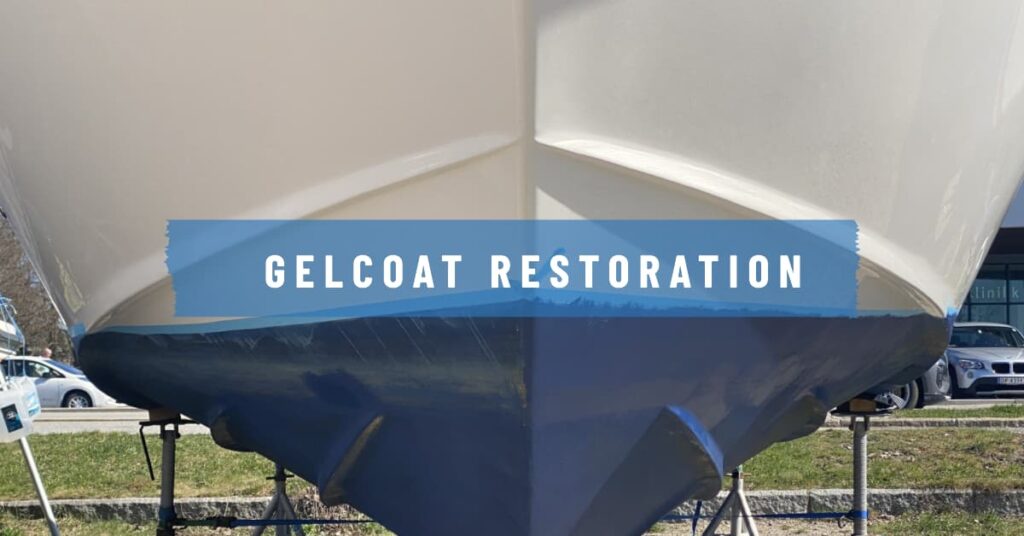
Is your boat showing signs of wear and tear? The gelcoat restoration may be exactly what you need to breathe new life into your marine companion.
This comprehensive guide will unravel the mystery behind gelcoat restoration, its advantages and disadvantages, costs, and common methods of application.

The Science Behind Gelcoat Restoration
So, what exactly is gelcoat restoration, and how does it work? Gelcoat is a special material used to provide a high-quality finish on the surface of a fiberglass boat. Over time, this gelcoat can become faded or chalky due to the harsh marine environment and sun exposure. This is where gelcoat restoration steps in.
Restoring the gelcoat is a process that involves a series of steps including cleaning, sanding, buffing, and polishing to restore the original shine and luster of your boat’s surface. The main objective is to remove the oxidized layer, revealing a fresh layer beneath. It’s a bit like exfoliating your skin!
The Benefits of Gelcoat Restoration
- Improves Aesthetic Appeal: A well-restored gelcoat can make your boat look brand new, enhancing its overall appeal.
- Increases Resale Value: If you plan to sell your boat, a shiny and well-maintained gelcoat can significantly increase its resale value.
- Protects the Boat: A restored gelcoat acts as a protective barrier against harmful UV rays, saltwater, and other environmental factors, extending the lifespan of your boat.
The Downsides to Gelcoat Restoration
Gelcoat restoration, while beneficial, is not without its downsides:
- Time-Consuming: The restoration process can be labor-intensive and time-consuming, especially for larger boats.
- Expertise Required: Although DIY gelcoat restoration kits are available, the process requires a certain level of skill and expertise for the best results.
- Regular Maintenance: Once restored, the gelcoat requires regular maintenance to keep it looking its best.
The Cost of Gelcoat Restoration
The cost of gelcoat restoration can vary significantly depending on the size of the boat, the extent of the damage, and whether you decide to hire a professional or opt for a DIY approach. Typically, a professional restoration service might cost between $20-$45 per foot. On the other hand, a DIY kit might set you back around $150-$250 (source).
Common Methods of Gelcoat Restoration
There are a few common ways to restore a gelcoat, and the method you choose may depend on the level of damage, your budget, and your comfort level with DIY projects.
- Sanding and Buffing: This is the traditional method and involves removing the chalky layer using sandpaper, then buffing the surface to shine.
- Chemical Peeling: In this method, a chemical solution is used to peel away the top layer of the gelcoat. This can be quicker and less labor-intensive than sanding but requires careful handling of the chemicals.
- Applying a Fresh Layer: In some cases, a new layer of gelcoat might be applied over the old one. However, this requires thorough preparation of the existing surface and should be done by a professional for the best results.
Every boat owner is faced with choices when it comes to maintaining their beloved vessel. Gelcoat restoration is one such area where the approach you choose can significantly vary based on your unique situation, comfort level with DIY tasks, available budget, and the extent of the gelcoat damage. Below, we will delve into some of the most popular methods of gelcoat restoration, providing a deeper understanding of each.
Sanding and Buffing
The traditional method of gelcoat restoration involves a two-step process: sanding and buffing. It is an excellent choice when dealing with a lightly oxidized gelcoat that has a chalky appearance.
Sanding
Sanding entails gently removing the oxidized top layer of the gelcoat, which restores the original color hidden beneath. The process requires starting with a lower grit sandpaper (1000-grit, for example) and progressing to a higher grit (up to 1500-grit) to ensure a smoother finish. It’s a labor-intensive process and requires careful attention to avoid sanding through the gelcoat and damaging the underlying fiberglass.
Buffing
Following sanding, the next step is buffing, which uses a rubbing compound to eliminate the minor scratches caused by sanding and to further smoothen the surface. The end result is a glossy, vibrant surface that closely resembles the original finish.
Chemical Peeling
For those looking for a quicker and less labor-intensive process, chemical peeling might be the right option. This method uses a chemical solution designed to strip away the oxidized layer of the gelcoat. The peeling process exposes a fresher, less damaged layer of the gelcoat underneath.
However, this method requires a cautious approach due to the use of harsh chemicals. It is crucial to follow the manufacturer’s instructions carefully and to dispose of the used solution responsibly. Moreover, adequate protective measures (like gloves, masks, and goggles) are a must while handling these chemicals.
Applying a Fresh Layer of Gelcoat
In instances where the existing gelcoat is heavily damaged or has been worn too thin for other restoration methods, applying a fresh layer of gelcoat can be the best course of action. This approach involves meticulously preparing the existing surface, ensuring it is perfectly clean and lightly sanded to promote adhesion. Then, a new layer of gelcoat is applied.
This method can restore the boat’s surface to a near-showroom finish, but it does require a high level of skill and expertise. Therefore, unless you’re confident in your DIY skills, it might be best to hire a professional for this task. It’s also the most expensive option, but the impressive results can be well worth the investment.
The method you choose for your gelcoat restoration will largely depend on your individual circumstances. Evaluate the condition of your gelcoat, your comfort with DIY, and your budget before deciding on the best approach for your boat. Remember, maintaining your boat’s gelcoat is an investment in its longevity, performance, and aesthetics.
How to Restore Chalky Gelcoat on Boat
Restoring a chalky gelcoat on your boat can be a gratifying DIY project if you’re up for the task. You can follow our comprehensive guide on repairing gelcoat damage on a boat. If you notice any chips or cracks on your fiberglass boat hull while working on the restoration, this article on how to repair chips in a fiberglass boat hull could be a handy reference.
Table: Steps for Restoring Chalky Gelcoat
| Steps | Tools & Materials Needed | Process |
|---|---|---|
| 1. Cleaning | Soap, water, brush | Clean the surface thoroughly to remove any dirt or debris. |
| 2. Sanding | Sandpaper (1000 to 1500 grit) | Sand the surface gently to remove the chalky layer. |
| 3. Buffing | Buffer, compound | Use a buffer and compound to polish the surface until it shines. |
| 4. Waxing | Wax, buffer | Apply a layer of wax and buff it to seal and protect the surface. |
Remember to always check your boat’s specific manufacturer guidelines when undertaking gelcoat restoration.
A Step-by-Step Guide to Restoring Gelcoat on Your Boat
Restoring the gelcoat on your boat is a satisfying endeavor that can significantly enhance your boat’s appearance and durability. Let’s delve into a step-by-step process of restoring the gelcoat.
Step 1: Cleaning
The first step in the gelcoat restoration process is a thorough cleaning. Using a solution of soap and water, scrub the boat’s surface meticulously to remove dirt, algae, and any marine growth. Ensure that the boat’s surface is as clean as possible before proceeding to the next step. Any residue or dirt left behind can interfere with the effectiveness of subsequent steps, so this is a crucial part of the process.
Step 2: Sanding
Once the boat is impeccably clean, it’s time to sand. This process removes the chalky, oxidized layer of gelcoat and exposes a fresh layer beneath. Start with a 1000-grit sandpaper and progress to a 1500-grit for a finer finish. Sand lightly and evenly, ensuring not to dig too deep, which could damage the fiberglass beneath the gelcoat. Keep the surface wet during sanding as it helps to reduce scratching and allows the sandpaper to work effectively.
Step 3: Buffing
After sanding, you’ll need to buff the boat’s surface using a buffer and a suitable rubbing compound. The compound works by smoothing the surface further, removing any scratches left behind by the sanding process. Apply the compound evenly over the surface and use a buffer to work it in. This process should restore a good deal of shine to the gelcoat.
Step 4: Polishing
Polishing gelcoat is the next step, which enhances the shine achieved from buffing and smooths the surface even more. Apply a polishing compound to the surface, then use a clean, soft pad on the buffer to work it in. Make sure to polish the entire surface of the boat gelcoat evenly for a consistent shine.
Step 5: Waxing
The final step in the gelcoat restoration process is waxing. This step seals the surface, providing a protective barrier against the elements. It also gives the gelcoat an extra layer of shine, making your boat look brand new. Apply a layer of marine-grade wax to the boat’s surface and use the buffer to work it in, much like in the previous steps. After the wax has dried, use a clean, soft cloth to buff the surface one final time.
Restoring the gelcoat on your boat can be a time-consuming process, but the results are well worth it. With patience, care, and attention to detail, your boat can be looking as good as new in no time. Remember, consistency is key in achieving a flawless finish.
In conclusion, gelcoat restoration is a great way to breathe new life into your boat. It might be a bit time-consuming, but the results are well worth the effort.
- Types of Gas Carriers as per IGC Code – April 22, 2025
- Wind-Assisted Propulsion Systems (WAPS): A Game Changer for Maritime Decarbonization – February 6, 2025
- 10 Boat Salvage Yards in California – January 25, 2025


